There is still enough time to make a "Happy Father's Day" card. Here
is another quick and easy handmade card and instructions on how to make
it. This design could be also used to make a "Happy Birthday" card.


In this design I used Papermania Solid Cardstock Assorted Colours (6” x 6”) card papers and Matchmakers Textured Cardstock with white core (3.875” x 3.875”) in Neutrals and Brights.
For this design you will need:
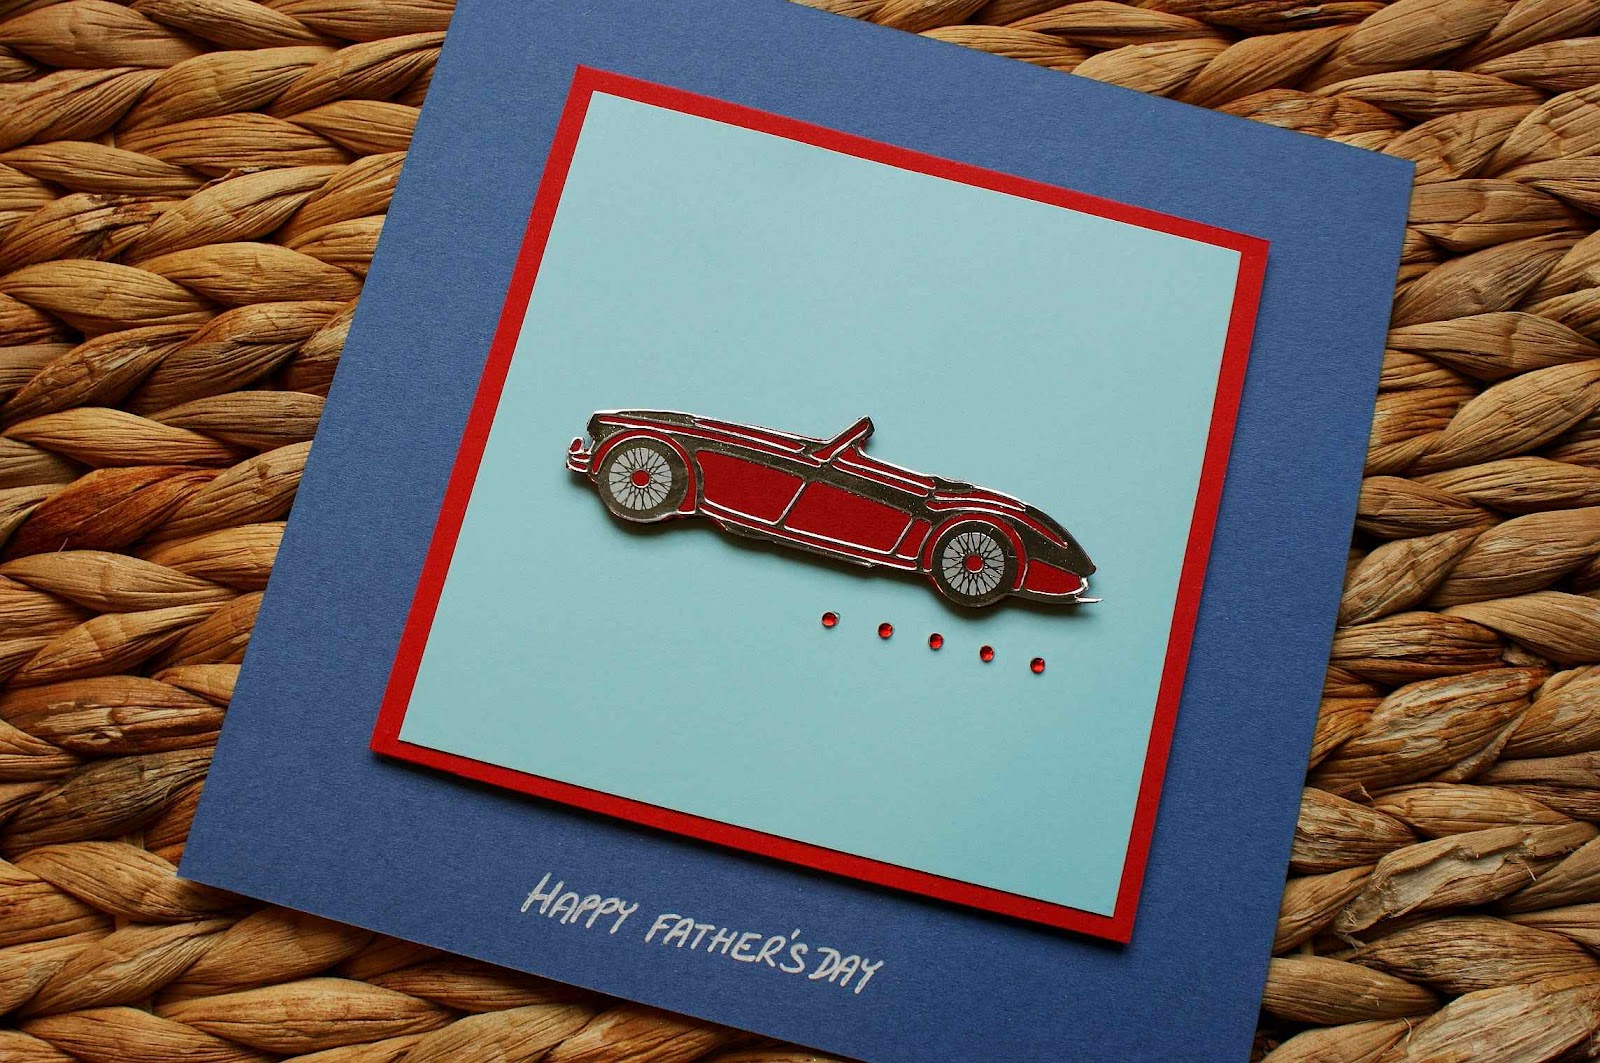
Take white card 15cm x 30cm and fold it in half. Take pale blue card paper (size 15 x 15cm) and using a double sided tape attach it to the front of the folded white card. Take pastel blue card paper (9 x 9cm) and attach it to the red card paper (10 x 10cm) using a double sided tape. Attach the pastel blue card paper with the red card paper to the middle of the pale blue card using foam pads.
Take the motorbike outline sticker and attach it to a piece of a red card. Cut alongside of the outline of the motorbike outline sticker, cutting the motorbike out. Attach the motorbike to the middle of the pastel blue card using foam pads.
Attach 5 red gems to the pastel blue card and write "Happy Father's Day" onto a card. Alternatively use a "Happy Father's Day" outline sticker instead.


In this design I used Papermania Solid Cardstock Assorted Colours (6” x 6”) card papers and Matchmakers Textured Cardstock with white core (3.875” x 3.875”) in Neutrals and Brights.
For this design you will need:
- Motorbike outline sticker from Anita’s Silver Car Collection (You can use following link http://direct.hobbycraft.co.uk/products-Anitas-Outline-Sticker-Silver-Car-Collection_316208.htm)
- 5 Red adhesive gems (I used Hobbycraft gems size 2mm)
- White card paper (15 x 30cm)
- Pastel blue card paper (9 x 9cm)
- Red card paper (10 x 10 cm)
- Small piece of red card paper to fit the motorbike outline sticker on
- Pale blue card paper (15 x 15cm)
- Blue gel pen or "Happy Father's Day" outline sticker in silver
- Double sided tape
- Craft foam pads (I used Stix 2mm thick)
Take white card 15cm x 30cm and fold it in half. Take pale blue card paper (size 15 x 15cm) and using a double sided tape attach it to the front of the folded white card. Take pastel blue card paper (9 x 9cm) and attach it to the red card paper (10 x 10cm) using a double sided tape. Attach the pastel blue card paper with the red card paper to the middle of the pale blue card using foam pads.
Take the motorbike outline sticker and attach it to a piece of a red card. Cut alongside of the outline of the motorbike outline sticker, cutting the motorbike out. Attach the motorbike to the middle of the pastel blue card using foam pads.
Attach 5 red gems to the pastel blue card and write "Happy Father's Day" onto a card. Alternatively use a "Happy Father's Day" outline sticker instead.