Thursday, 22 November 2012

Handmade Xmas Cards - Colour Variations on Xmas Stocking Design

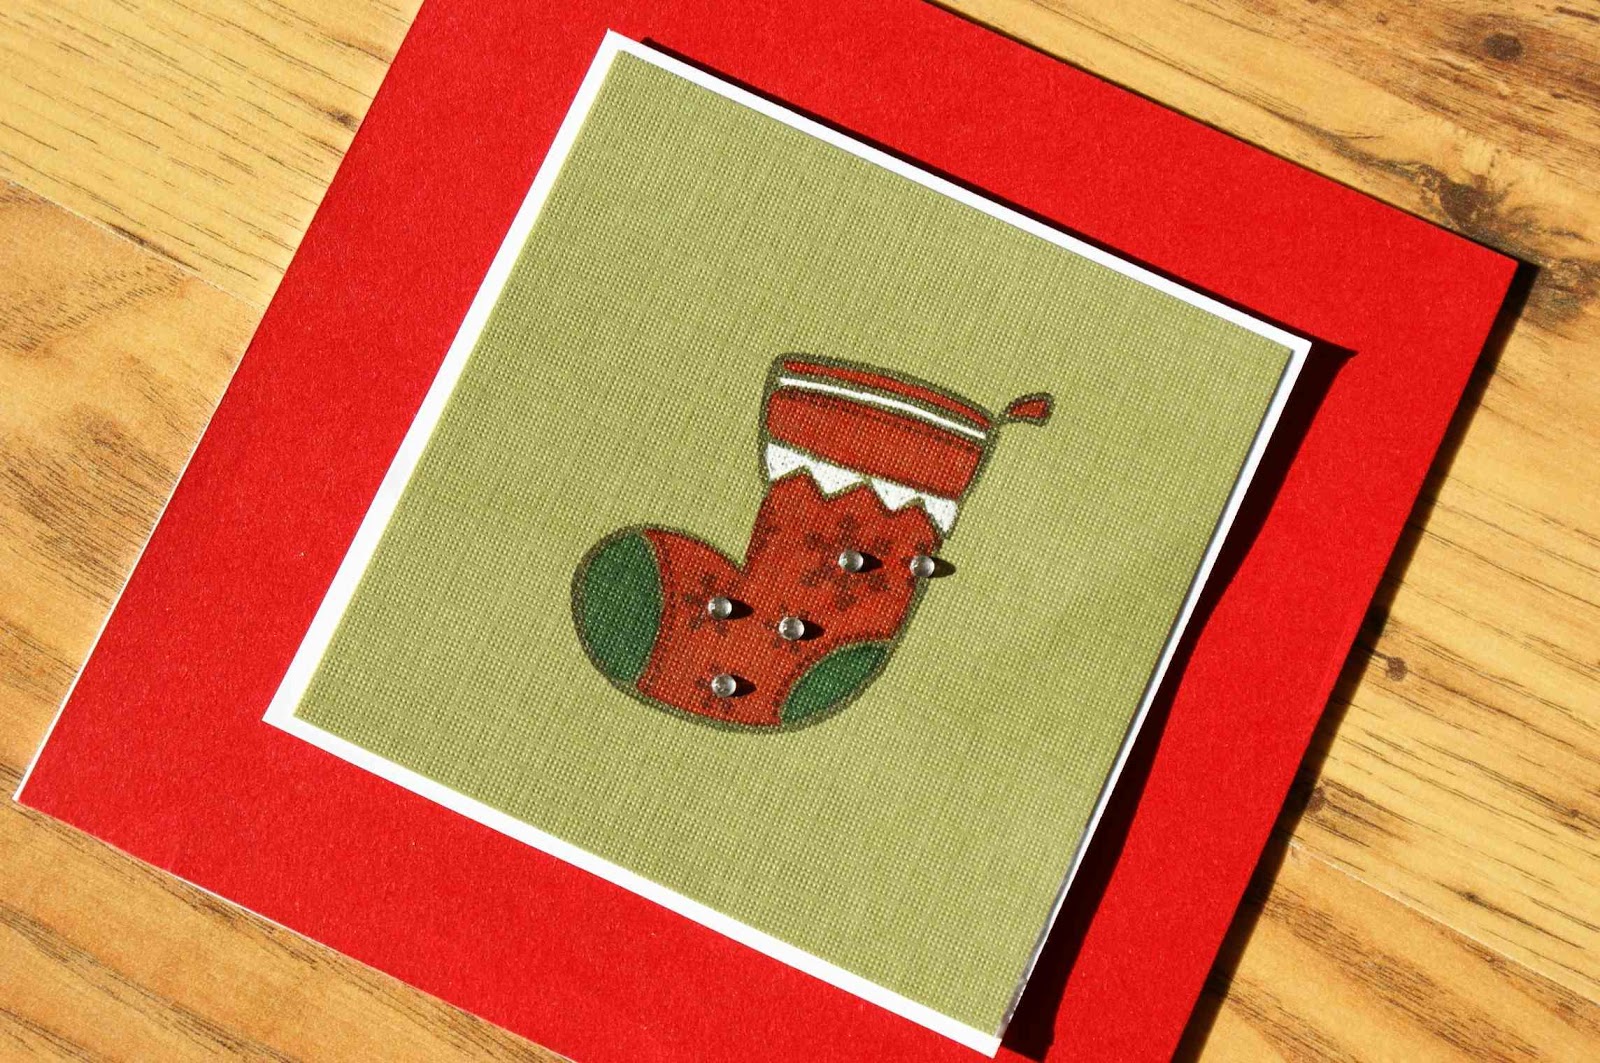
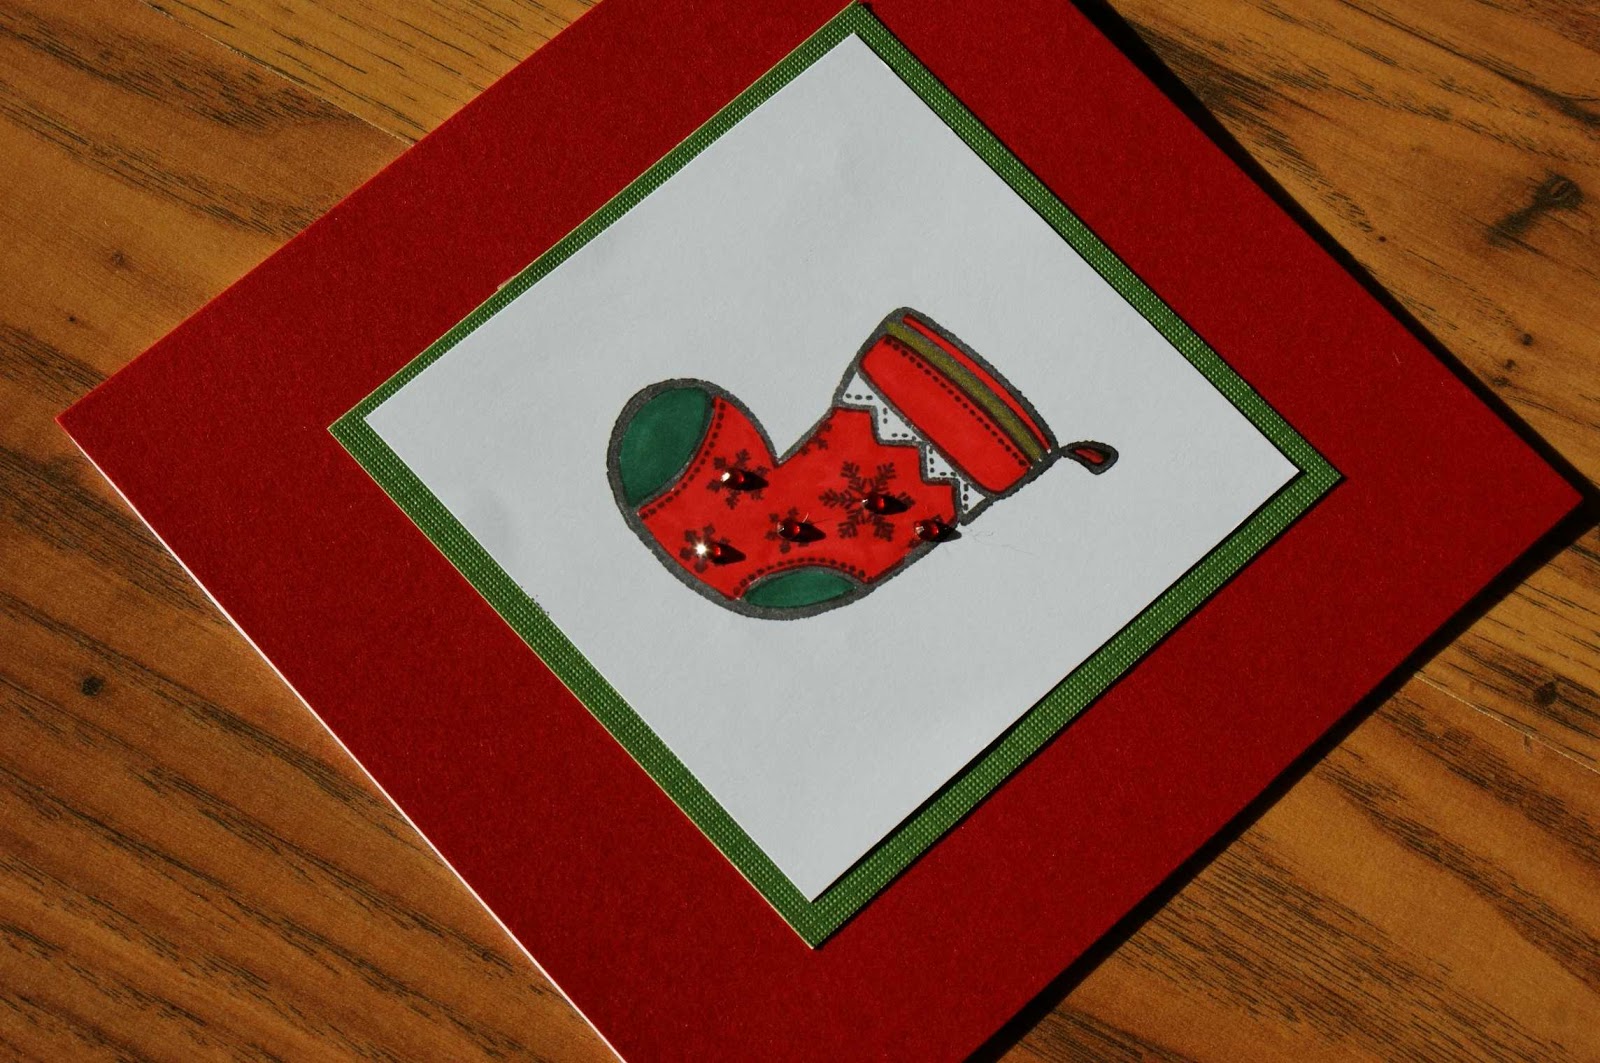
In my previous posting I showed you christmas card design - a Xmas stocking in a red frame. Here are pictures of various colours that also work with the design. Instructions on how to make it you will find in my previous post. All cards are very easy to make.


To colour the xmas stocking I used "Traditional Christmas" Letraset promarkers set. You can purchase it from my blog's online shop as well a xmas stocking stamp if you do not have one.


 1) 
  • Dark purple card (15 x 15 cm)
  • Dark Green card ( 10 x 10 cm)
  • White card (9 x 9 cm) 
  • 5 silver adhesive gems

2)
  • Dark red card (15 x 15 cm)
  • White card ( 10 x 10 cm)
  • Pale mocha-cream card (9 x 9 cm) 
  • 5 silver adhesive gems


3)
  • Medium purple card (15 x 15 cm)
  • White card ( 10 x 10 cm)
  • Pale bluish gray card (9 x 9 cm) 
  • 5 silver adhesive gems


4)
  • Purple card with pink shade (15 x 15 cm)
  • White card ( 10 x 10 cm)
  • Pale mocha-cream card (9 x 9 cm) 
  • 5 purple adhesive gems


5)
  • Strong green card (15 x 15 cm)
  • Brownish red card ( 10 x 10 cm)
  • White card (9 x 9 cm) 
  • 5 red adhesive gems


6)
  • Sage green card (15 x 15 cm)
  • Brownish red card ( 10 x 10 cm)
  • White card (9 x 9 cm) 
  • 5 red adhesive gems


7)
  • Bright green card (15 x 15 cm)
  • White card ( 10 x 10 cm)
  • Brown card (9 x 9 cm) 
  • 5 silver adhesive gems


Friday, 16 November 2012

Handmade Xmas Cards - Xmas Stocking

This is another of the quick and easy cards. You can make quite a few of them in one evening and have them ready to post to all of your relatives and friends, just in time for xmas.


To make this card you will need:

  • White card paper (15 x 30cm)
  • Dark red card paper (15 x 15cm)
  • White card paper (10 x 10cm)
  • Pale mocha-cream card paper (9 x 9cm)
  • Message outline sticker "Merry Christmas" (optional)
  • Double sided tape 
  • Letraset promarkers (making this card I used set of 6 - Letraset Metallic Traditional Christmas promarkers - which you can purchase from my blog's Craft Magic Online Shop)
  • Xmas Stocking craft stamp (you can purchase similar stamp from my blog's online shop)
  •  5 silver adhesive gems
  • Craft foam pads (I used Stix 2mm thick)

Letraset Promarker Sets and Xmas stocking stamps: (Click on pictures to see more detail)

Letraset Metallic Traditional Christmas ProMarker Set (Pack of 6)
  Letraset ProMarker Christmas Traditional and Contemporary Twin Pack (12 Pens Total) 


Mini Clear Stamp 3"X5"-StockingPergamano Clear Stamp Set - Santa & Presents #41917


2 inch christmas stocking Rubber StampHero Arts Clear Stamps Xmas Sprinkle Your Holiday


I have set up and online shop - CRAFT MAGIC ONLINE SHOP- on my blog (top right corner). You can now purchase many crafting supplies right here. The shop is powered by Amazon, so you would be making the purchase through Amazon. I have just selected (and sorted into various categories) crafting products that Amazon sells. My blog's shop is divided into 2 parts; one offers paper crafting and scrapbooking supplies and the other one is for crafty kids and offers variety of beautiful crafty kits and products designed for children. 


Instructions:

Take white card 15cm x 30cm and fold it in half. Take a dark red card paper (size 15cm x 15cm) and using double sided tape attach it to the white card. Stamp an image of a xmas stocking on the pale mocha-cream card (9 x 9cm) and colour it in using letraset promarkers. 
Take a pale mocha-cream card (9 x 9 cm) and attach it to the white card (10 x 10 cm) using double sided tape. Attach the white-mocha-cream card to the middle of the red card using foam pads.

Attach the adhesive gems to the stocking.

If you like, attach a "Merry Christmas" outline sticker to the card.


You can use different colour paper to stamp the xmas stoking on. Here are some examples:


Use sage green card paper instead of the mocha-cream paper


Or just stamp the xmas stocking onto a white card paper (size 9 x 9 cm) and attach it to a green card (10 x 10cm) instead.


Sunday, 28 October 2012

Handmade Halloween Treats Bags - part 2 - Decorate With Halloween Pictures


I made 2 Halloween bags and decorated them with a different Halloween picture on each side. You can decide on just one picture for each bag if you like. 

In my previous post I described how to make the basic bag. This post is about how to make the Halloween pictures for the bags. 


 To make 1st Halloween Ghost picture you will need:


  • Indigo blue card paper (15 x 15cm)
  • Black card paper (approx. 15 x 15cm)
  • White card paper with slightly greyish tone for the ghost (approx. 8 x 8 cm)
  • 8 green adhesive gems (I used gems 2mm thick)
  • Mango yellow card paper for the full moon (approx. 10 x 10 cm)
  • Double sided tape
  • Craft foam pads (I used Stix 2mm thick) 

I have set up and online shop - CRAFT MAGIC ONLINE SHOP- on my blog (top right corner). You can now purchase many crafting supplies right here. The shop is powered by Amazon, so you would be making the purchase through Amazon. I have just selected (and sorted into various categories) crafting products that Amazon sells. My blog's shop is divided into 2 parts; one offers paper crafting and scrapbooking supplies and the other one is for crafty kids and offers variety of beautiful crafty kits and products designed for children.


 Instructions:

Take black card and cut out the castle ruin (15 cm width and 7.5 cm height) and 3 bats (1 bigger bat 6.5 cm width and 2.5 cm height, 2 smaller bats 5.5 cm width and 2 cm height). Take the white card with gray tone and cut out the ghost (6 x 6 cm). Then take the mango yellow card paper and cut out a circle (7.5 cm diameter) - the full moon.

Attach the full moon to the blue card (15 x 15 cm) using double sided tape. Then attach the castle ruin and the 3 bats, using foam pads, to the blue card (and over the full moon). Finally attach the ghost to the castle ruin, using foam pads. It's not very noticeable on the picture but when attaching bats to the card using foam pads, I layered it a bit by using 2 foam pads on top of each other. I attached one wing of the bat to the paper using 2 foam pads and the other wing I attached to the paper using double sided tape. This makes the bat looking as if it is flying at an angle.

Add green gems as eyes to the ghost and to the flying bats. Attach the Halloween picture to the orange bag. You can attach it either using double sided tape. However,  if you prefer, you can use foam pads instead. The advantage is that after the bag is used, you can remove the Halloween pictures from the bag and use it next year to make a card or attach a string onto it and use it as Halloween decorations for next year.

Note: detailed instructions on how to draw the ghost, bats and castle ruin you can find in my previous postings. There is some small alteration to the castle ruin. See pictures bellow. This show how to get the basic shape, then cut uneven edge as described in How to Make Castle Crenelations posting.


 To make 2nd Halloween Ghost picture you will need:

  • Indigo blue card paper (15 x 15cm)
  • Black card paper (approx. 15 x 15cm)
  • White card paper with slightly greyish tone for the ghost (approx. 8 x 8 cm)
  • 6 green adhesive gems (I used gems 2mm thick)
  • Mango yellow card paper for the full moon (approx. 10 x 10 cm)
  • Double sided tape
  • Craft foam pads (I used Stix 2mm thick) 


 Instructions:

Attach the full moon to the blue card (15 x 15 cm) using double sided tape. Then attach the castle ruin and the 3 bats, using foam pads, to the blue card (and over the full moon). Finally attach the ghost above the castle ruin, using foam pads. It's not very noticeable on the picture but when attaching bats to the card using foam pads, I layered it a bit by using 2 foam pads on top of each other. I attached one wing of the bat to the paper using 2 foam pads and the other wing I attached to the paper using double sided tape. This makes the bat looking as if it is flying at an angle.

Add green gems as eyes to the ghost and to the flying bats. Attach the Halloween picture to the orange bag. You can attach it either using double sided tape. However,  if you prefer, you can use foam pads instead. The advantage is that after the bag is used, you can remove the Halloween pictures from the bag and use it next year to make a card or attach a string onto it and use it as Halloween decorations for next year.

Note: detailed instructions on how to draw the ghost, bats and castle ruin you can find in my previous postings. There is some small alteration to the castle ruin. See pictures bellow. This show how to get the basic shape, then cut uneven edge as described in How to Make Castle Crenelations posting.


 To make Halloween Spider picture you will need:

  • Black card paper approx. 10 x 10 cm
  • Orange card paper (15 x 15cm)
  • Black card paper (15 x 15cm)
  • 2 wiggle eyes
  • Black stranded cotton thread and needle (or an ordinary black sewing thread)
  • Double sided tape
  • Craft foam pads (I used Stix 2mm thick)


 Instructions:

Take an orange card paper (size 15cm x 15cm), hand stitch a spider web onto it using a black stranded cotton (or use black sewing thread). Take a black card paper (15 x 15 cm) and measure 2.5 cm from each side, then cut out the inside square. 


Make uneven cuts on the inside of the frame as in the picture bellow.


Then cut in random triangles as show in the picture below. You will have a border for your spider picture.


Attach the black border to the orange card with the spider web you made earlier (using double sided tape). Cut out a black spider (size about 9 x 5 cm) and attach it to the orange card with the web using foam pads. Attach 2 wiggle eyes to the spider.

You can find detailed instructions on how to make the spider web and the spider in my previous Halloween blog postings.


 To make Halloween Pumpkin picture you will need:

  • Peach card paper (15 x 15cm)
  • 2 green adhesive gems (I used gems 2mm thick)
  • Black card paper (14.5 x 14.5 cm)
  • Double sided tape
  • Black gel pen 
  • Craft foam pads (I used Stix 2mm thick)


 Instructions:

Take the peach card paper, draw the pumpkin on it (size 13 cm width x 10 cm height + 2 cm long stalk) and cut it out including the holes for the eyes, nose and toothy smile. Use a craft knife to cut out the holes in the pumpkin, however if you do not have it, you can use nail scissors for the fiddly bits instead. Draw black lines on the pumpkin using black gel pen (follow the picture as a guidance). Take black card paper (14.5 x 14.5 cm), cut its edges to create an uneven cut border (as shown in the Halloween Spider card in previous posting). Attach the finished pumpkin to the black card using foam pads. Remember to add 2 green adhesive gems as eyes. 

See further bellow a reminder on how to make an uneven cut border. 


And at last,

Finishing touches to the bag:

Create an uneven cut border to put on top of the bag. You will need 2 pieces of 21cm x 2.5 cm black card paper for each bag.

A                             B                              C

Cut 2 x stripes of paper - size 21 x 2.5 cm each - from a black card paper. Cut irregular wavy shape into one side of both stripes (A). Then cut in randomly irregular triangle shapes (B). And the border for the bag is done (C). See picture above. 

Attach the black uneven cut border to the bag using double sided tapes.

Keeping your bag folded, make 4 holes through the top border as shown in the pictures bellow.


And finally, fill the bag(s) up with sweets and treats, and string a black ribbon through the holes. Make a bow. As an additional touch you can cut up the ends of the black bow.