Showing posts with label Creepy Spider Halloween card. Show all posts

Tuesday, 23 October 2012

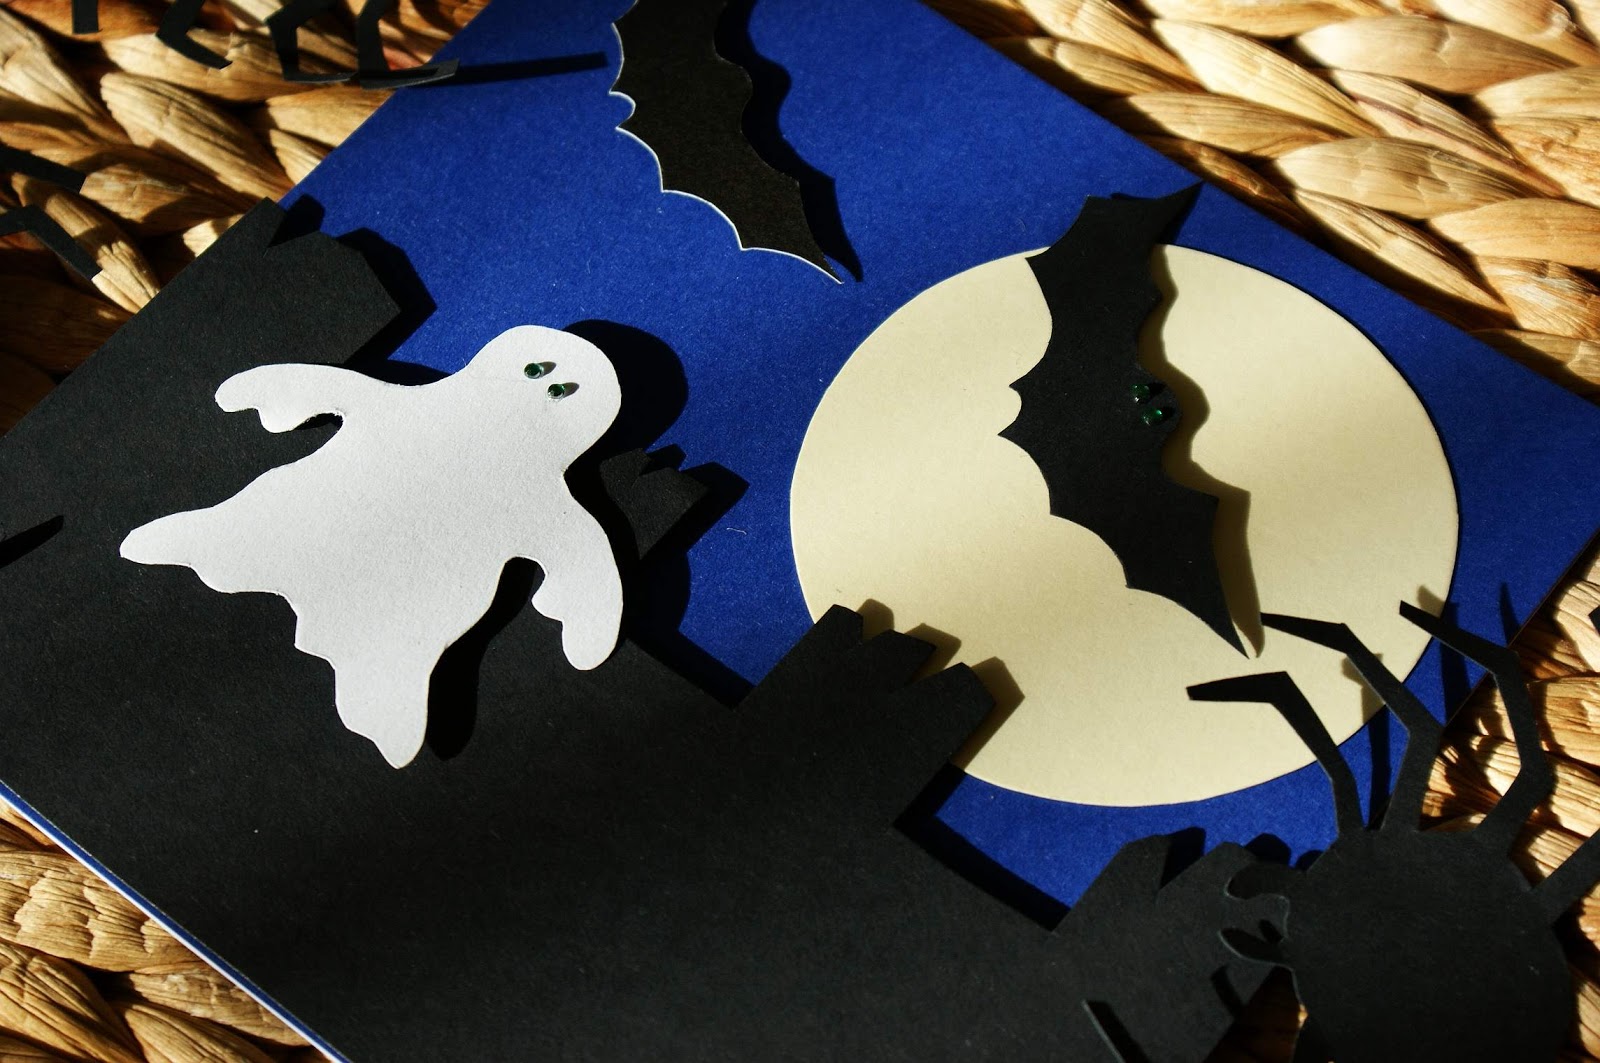
Handmade Halloween Card - Ghost, Castle Ruins, Bats and Pale Full Moon


To make this card you will need:

  • White card paper (15 x 30cm)
  • Indigo blue card paper (15 x 15cm)
  • Black card paper (approx. 15 x 15cm)
  • White card paper with slightly greyish tone for the ghost (approx. 8 x 8 cm)
  • 4 green adhesive gems (I used gems 2mm thick)
  • Cream card paper for the full moon (approx. 10 x 10 cm)
  • Double sided tape
  • Craft foam pads (I used Stix 2mm thick) 

I have set up and online shop - CRAFT MAGIC ONLINE SHOP- on my blog (top right corner). You can now purchase many crafting supplies right here. The shop is powered by Amazon, so you would be making the purchase through Amazon. I have just selected (and sorted into various categories) crafting products that Amazon sells. My blog's shop is divided into 2 parts; one offers paper crafting and scrapbooking supplies and the other one is for crafty kids and offers variety of beautiful crafty kits and products designed for children. 


 Instructions:

Take white card 15cm x 30cm and fold it in half. Take a blue card paper (size 15cm x 15cm) and using double sided tape attach it to the white card. 

Take black card and cut out the castle ruin (15 cm width and 7.5 cm height) and 2 bats (bigger bat 6.5 cm width and 2.5 cm height, smaller bat 5.5 cm width and 2 cm height). Take the white card with gray tone and cut out the ghost (6 x 6 cm). Then take the cream card paper and cut out a circle (7.5 cm diameter) - the full moon.

Attach the full moon to the blue card using double sided tape. Then attach the castle ruin and the 2 bats, using foam pads, to the blue card (and over the full moon). Finally attach the ghost to the castle ruin, using foam pads. 

Add green gems as eyes to the ghost and one of the flying bats.


In my next posts I will show you a variation on this card design using brighter colour for the moon which brings out a colour of the whole card. Also I will show you in detail how to draw the castle ruin (with the uneven cut crenelations), ghost and the bat. This will be followed by couple Halloween Treat Bags. 

If you like, you can cut the castle ruin's crenelations straight. See pictures bellow:


Thursday, 18 October 2012

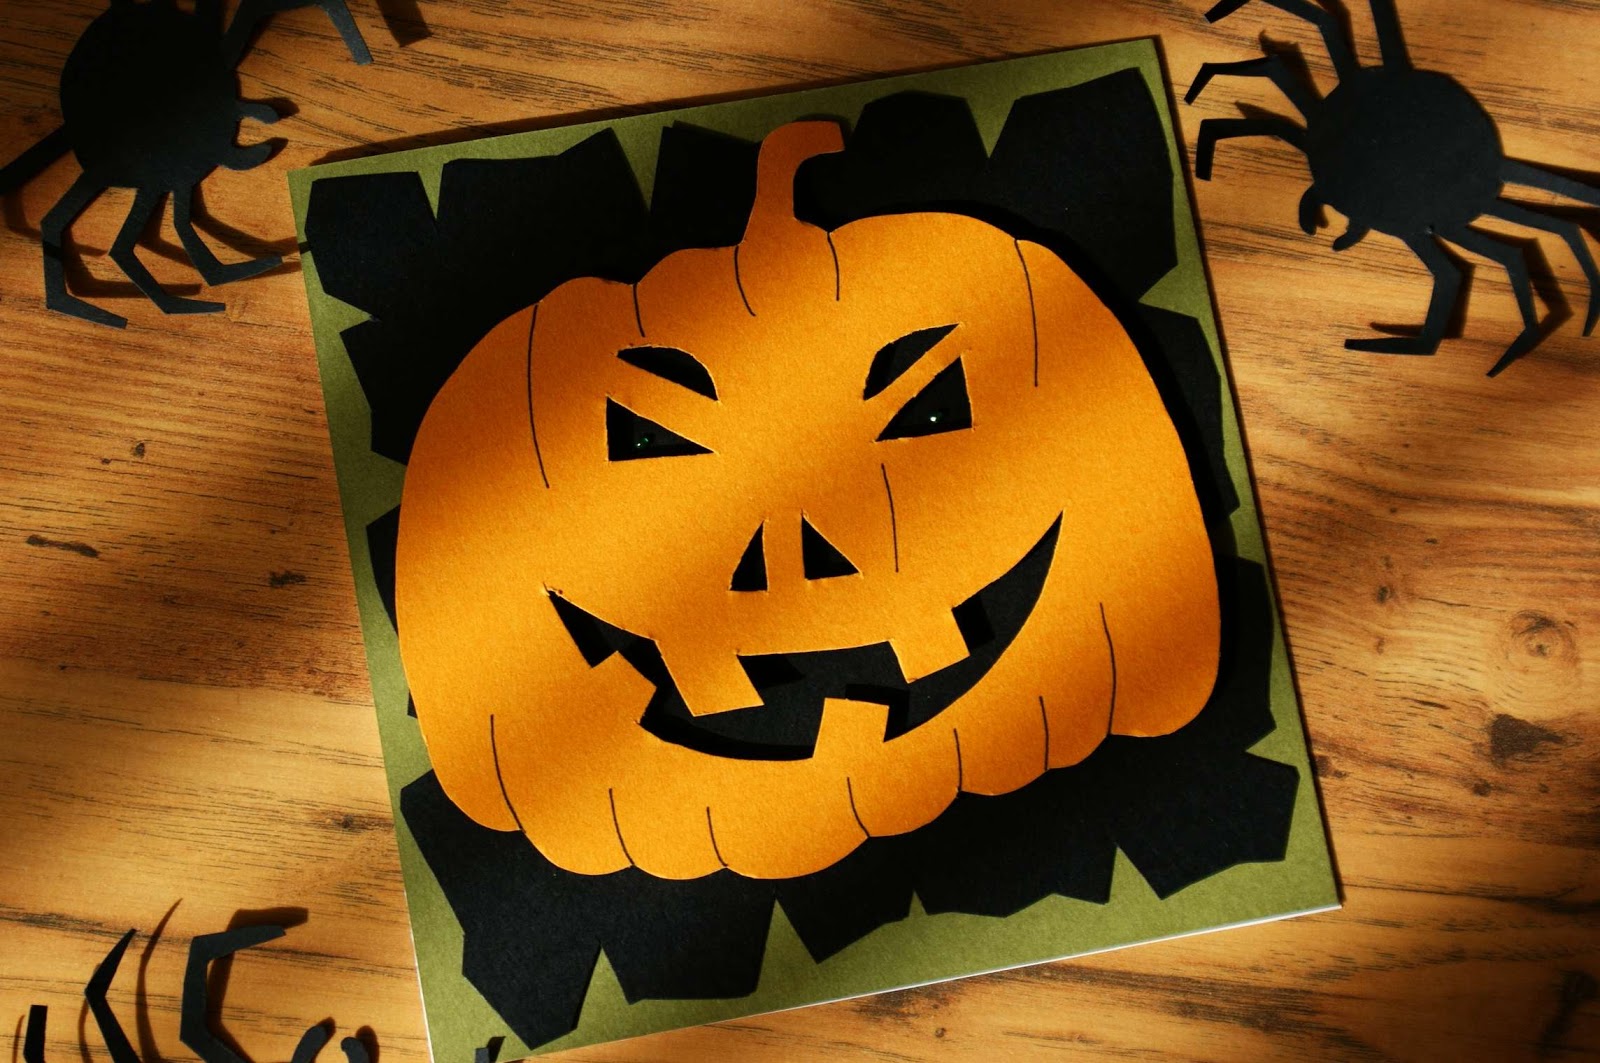
Handmade Halloween Cards - Toothy Pumpkin


To make this card you will need:

  • White card paper (15 x 30cm)
  • Sickly green card paper (15 x 15cm)
  • Peach card paper (15 x 15cm)
  • 2 green adhesive gems (I used gems 2mm thick)
  • Black card paper (14.5 x 14.5 cm)
  • Double sided tape
  • Black gel pen 
  • Craft foam pads (I used Stix 2mm thick) 

I have set up and online shop - CRAFT MAGIC ONLINE SHOP- on my blog (top right corner). You can now purchase many crafting supplies right here. The shop is powered by Amazon, so you would be making the purchase through Amazon. I have just selected (and sorted into various categories) crafting products that Amazon sells. My blog's shop is divided into 2 parts; one offers paper crafting and scrapbooking supplies and the other one is for crafty kids and offers variety of beautiful crafty kits and products designed for children.


 Instructions:

Take white card 15cm x 30cm and fold it in half. Take a green card paper (size 15cm x 15cm) and using double sided tape attach it to the white card. Take the black card paper (14.5 x 14.5 cm), cut its edges to create an uneven cut border (as shown in the Halloween Spider card in previous posting) and attach it to the green card using double sided tape. Then take the peach card paper, draw the pumpkin on it (size 13 width x 10 cm height + 2 cm long stalk) and cut it out including the holes for the eyes, nose and toothy smile. Use a craft knife to cut out the holes in the pumpkin, however if you do not have it, you can use nail scissors for the fiddly bits instead. Draw black lines on the pumpkin using black gel pen (follow the picture as a guidance) and attach the finished pumpkin to the black card using foam pads. Remember to add 2 green adhesive gems as eyes.

If you want an easier design for the pumpkin's eyes and nose, just draw 1 triangle for the nose and one triangle (2x) for each eye instead.

See further bellow a reminder on how to make an uneven cut border. 


Bellow is a reminder on how to make an uneven cut border. I copied this part from my previous posting of Halloween Spider Card, so the shape of the black card in the picture bellow is different to what you need for the pumpkin card, not to confuse you. To make the pumpkin card cut the edges of the 14.5 x 14.5 cm black square card, just apply the same technique as used previously on the black stripes for the Halloween Spider card.   


A                             B                              C
Cut irregular wavy shape into the edge of the card paper (A). Then cut in randomly irregular triangle shapes (B). And the uneven cut edge for the card is done (C). See picture above.


I made another Halloween Pumpkin card using orange card paper for the pumpkin. Here are some pictures. 


In my next posting I will show you how to make a Halloween Ghost card (including flying bats, ruins of a castle and a full moon).


Wednesday, 17 October 2012

Handmade Halloween Cards - How to Make Uneven Cut Border

The instructions on how to make the Halloween Creepy Spider card are in my previous posting. Here I will show you how to make the uneven cut border for this card. See further bellow.


To make Halloween Creepy Spider card you will need: (card instructions in the previous posting)

  • White card paper (15 x 30cm)
  • Orange card paper (15 x 15cm)
  • Black card paper (approximately 15 x 15cm)
  • 2 green adhesive gems (I used gems 2mm thick)
  • Black stranded cotton thread and needle (or an ordinary black sewing thread)
  • Double sided tape
  • Craft foam pads (I used Stix 2mm thick) 

I have set up and online shop - CRAFT MAGIC ONLINE SHOP- on my blog (top right corner). You can now purchase many crafting supplies right here. The shop is powered by Amazon, so you would be making the purchase through Amazon. I have just selected (and sorted into various categories) crafting products that Amazon sells. My blog's shop is divided into 2 parts; one offers paper crafting and scrapbooking supplies and the other one is for crafty kids and offers variety of beautiful crafty kits and products designed for children.


I took picture of various stages of making the border for my Halloween Creepy Spider card. This should make it easier. 

A                             B                              C

To make an uneven border for the Halloween Spider card, cut 2 x stripes of paper - size 15 x 2.5 cm each - from a black card paper. Cut irregular wavy shape into one side of both stripes (A). Then cut in randomly irregular triangle shapes (B). And the border for the card is done (C). See picture above.

In the next posting I will show you how to make a Scary Halloween Pumpkin Card.


Tuesday, 16 October 2012

Handmade Halloween Card - How to Make a Spider

The instructions on how to make the Halloween Creepy Spider card are in my previous posting. Here I will show you how to make the spider for this card. See further bellow.


To make Halloween Creepy Spider card you will need: (card instructions in the previous posting)

  • White card paper (15 x 30cm)
  • Orange card paper (15 x 15cm)
  • Black card paper (approximately 15 x 15cm)
  • 2 green adhesive gems (I used gems 2mm thick)
  • Black stranded cotton thread and needle (or an ordinary black sewing thread)
  • Double sided tape
  • Craft foam pads (I used Stix 2mm thick) 

I have set up and online shop - CRAFT MAGIC ONLINE SHOP- on my blog (top right corner). You can now purchase many crafting supplies right here. The shop is powered by Amazon, so you would be making the purchase through Amazon. I have just selected (and sorted into various categories) crafting products that Amazon sells. My blog's shop is divided into 2 parts; one offers paper crafting and scrapbooking supplies and the other one is for crafty kids and offers variety of beautiful crafty kits and products designed for children.


I took pictures at various stages of making the spider for my Halloween Creepy Spider card. This should make it easier.

 Draw a circle. Make is about 5 cm diameter circle to make a spider for this card.


 Add spider jaws as seen in the picture above.


 Draw 8 legs as seen in the picture above. Leave some space between each leg.


Ad thickness to each leg as seen in picture above.


To finish the spider, attach 2 small green adhesive gems to the spider as eyes.
 

Monday, 15 October 2012

Handmade Halloween Cards - How to Make a Spider Web


The instructions on how to make the Halloween Creepy Spider card are in my previous posting. Here I will show you how to make the web for this card. See further bellow.


To make Halloween Creepy Spider card you will need: (card instructions in the previous posting)

  • White card paper (15 x 30cm)
  • Orange card paper (15 x 15cm)
  • Black card paper (approximately 15 x 15cm)
  • 2 green adhesive gems (I used gems 2mm thick)
  • Black stranded cotton thread and needle (or an ordinary black sewing thread)
  • Double sided tape
  • Craft foam pads (I used Stix 2mm thick) 

I have set up and online shop - CRAFT MAGIC ONLINE SHOP- on my blog (top right corner). You can now purchase many crafting supplies right here. The shop is powered by Amazon, so you would be making the purchase through Amazon. I have just selected (and sorted into various categories) crafting products that Amazon sells. My blog's shop is divided into 2 parts; one offers paper crafting and scrapbooking supplies and the other one is for crafty kids and offers variety of beautiful crafty kits and products designed for children.


I took pictures at various stages of making the spider web for my Halloween Creepy Spider card. This should make it easier.


Take an orange card paper (15 x 15 cm). With a black pencil, draw dots on the card. Draw one dot more less in the middle and then about 8 dots closer to the edges of the card as you can see in the picture above. This will give you the starting points to draw your spider web. 


Take a ruler and draw 8 lines, connecting the dots on the edge of the card to the centre dot. Then choose the shortest line and use it as a starting point for the next step, drawing the webbing between the 8 original lines. On the shortest line work out even spacing from the centre dot to draw 5 dots onto the line. For example, if your shortest line is 6 cm long, make a spacing of 1cm between the dots you will draw onto this line. Then use the same measurement on the remaining 7 lines, then connect the dots to create the webbing. That's the drawing done. 

You do not have to do the next step, but if you follow this, your hand stitching will be much easier. Take a needle and pierce through each dot you drew on the card. Thus, when you are actually stitching the web, you can clearly see the points for your needle on the other side of the card, which is the actual side where you are going to stitch the spider web onto.


 Now it's time to do the actual stitching. In the picture above you can see the opposite side of the card you drew the picture of the web on. That's the side with the final stitched picture. Start with the 8 original lines returning to the middle dot of the card.


 And at last, stitch on the webbing. You will need to use a back stitch on this and will be going back and forth to be able to connect each dot as on the picture above. The other side of the card paper (the one with the originally drawn picture of the web) will look quite a mess and you will use quite a lot of black thread on this. My guess is, I used about 2.5m of stranded cotton thread. 

A little note. When stitching the web onto the card, do not tighten your stitches too much or you might end up tearing the paper.


In my next posting I will show you how to draw a creepy spider and how to cut the black borders to achieve the uneven edge as on my card.