Showing posts with label Handmade cards for all occasions. Show all posts

Saturday, 5 January 2013

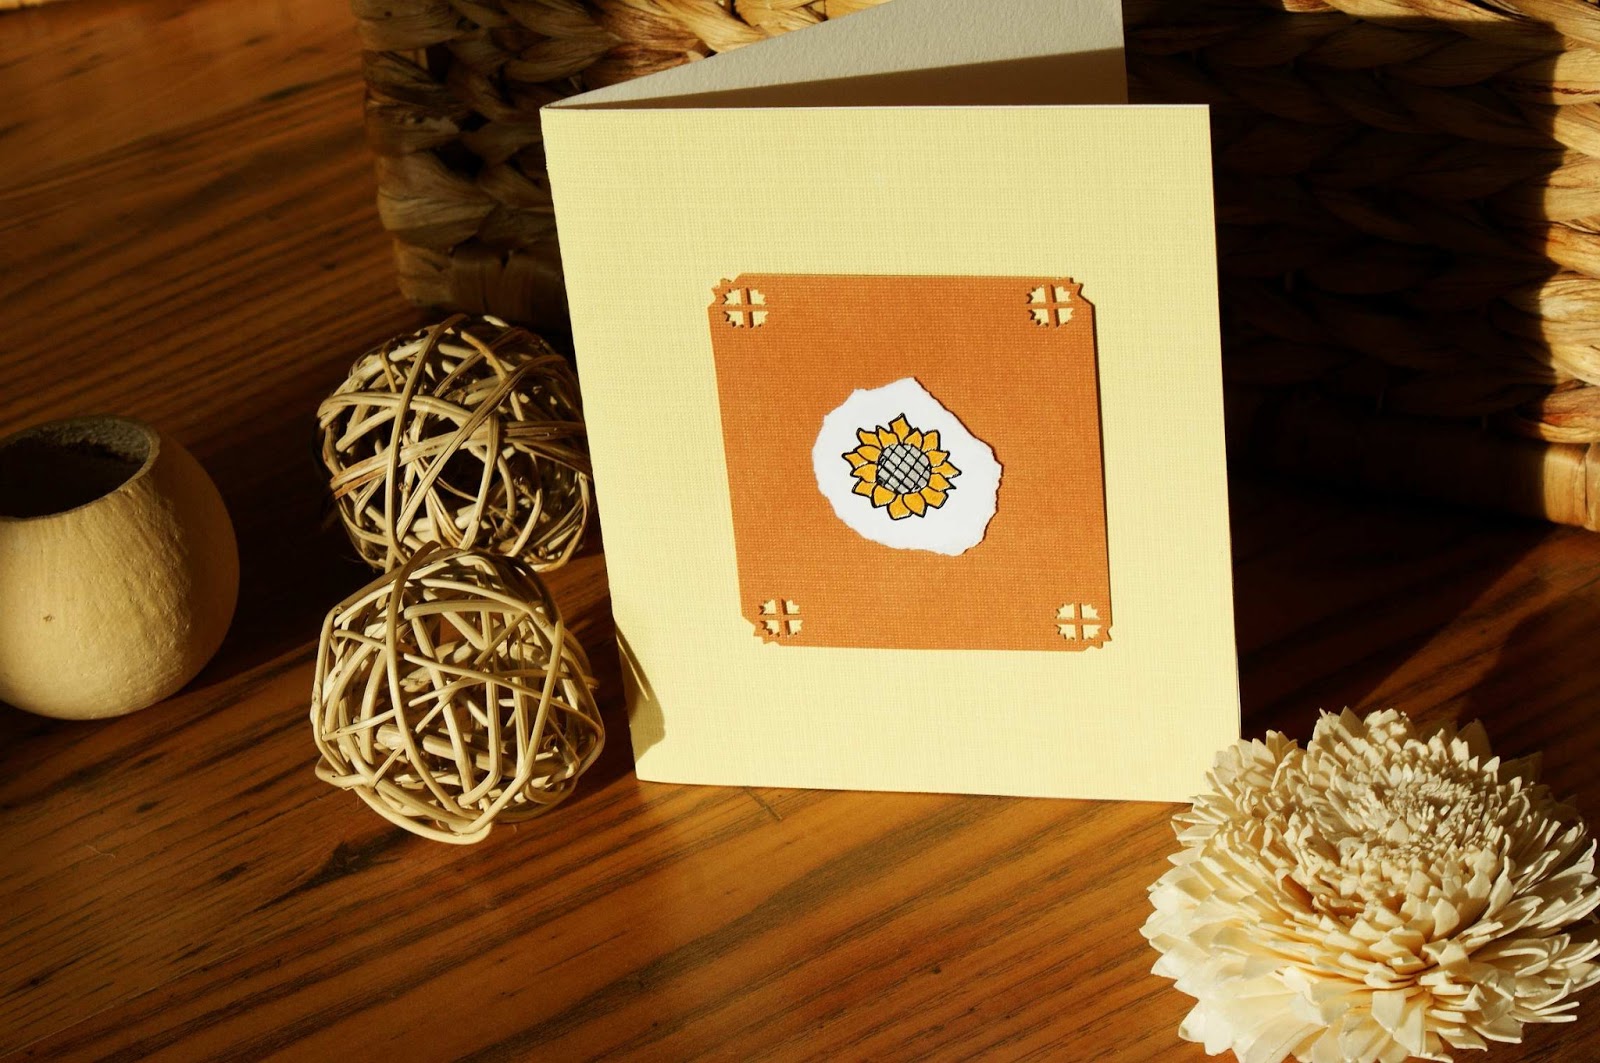
Handmade Card - Sunflower


To make this card you will need:

  • White card paper (15 x 30cm)
  • Pastel yellow card paper (15 x 15cm)
  • Brown card paper (9 x 9 cm)
  • Small piece of white card paper to fit a flower outline sticker on 
  • Craft corner paper punch
  • Double sided tape
  • Silver and gold colour gel pens
  • Craft foam pads (I used Stix 2mm thick) 

Here are few of many corner paper craft punches and outline stickers you can purchase from my Craft Magic Online Shop. Click on the pictures for more details.
Combo Corner Punch-Sunflower
3-In-1 Corner Punch-Romantique

Woodware Craft Collection Lever Corner Punch - Rose
Woodware Craft Collection Lever Corner Punch - Daisy


Martha Stewart Punch-Around-The-Page Corner Punch-Scroll Lace
Martha Stewart Corner Punch-Pansy


Woodware Craft Collection Lever Corner Punch - Diamond
Woodware Craft Collection Lever Corner Punch - Tulip

Glitterations Black Flower Stickers
Glitterations Gold Flower Stickers


Anita's Dimensions Sunflower Stickers
Glitterations Silver Flower Stickers 


Anita's Dimensions Daisy StickersDIMENSIONS - PASTEL FLOWER


Anita's Dimensions Silver Flower StickersAnita's Dimensions Gold Flower Stickers


 Paper craft cutters. Click on the picture for more details:


Fiskars Bypass Guillotine 22 cm Guillotine Paper Trimmer 12"X12"-


Purple Cows - 2 in 1 Combo Paper Trimmer Guillotine Mini Guillotine Paper Trimmer 6"-


Tonic Studios - 31cm Maxi Wide Guillotine (157E) 
Clevercut 5-in-1 Paper Trimmer 12"-


I have set up and online shop - CRAFT MAGIC ONLINE SHOP- on my blog (top right corner). You can now purchase many crafting supplies right here. The shop is powered by Amazon, so you would be making the purchase through Amazon. I have just selected (and sorted into various categories) crafting products that Amazon sells. My blog's shop is divided into 2 parts; one offers paper crafting and scrapbooking supplies and the other one is for crafty kids and offers variety of beautiful crafty kits and products designed for children.


Instructions: 


Take white card 15cm x 30cm and fold it in half. Take a pastel yellow card paper (size 15cm x 15cm) and using double sided tape attach it to the white card. Take brown card paper (9 x 9 cm), cut its corners using corner craft punch, then attach it to the yellow card using foam pads. Attach a flower outline sticker to a piece of white card paper and tear around the picture to create an uneven edge. Colour the outline sticker using gel pens. Then attach it to the brown card paper.


Wednesday, 10 October 2012

Cute Handmade 3D Decoupage Cards - 27 - Flying Bear


 To make this card you will need:

  • Forever Friends "Party Time" paper pack (6 x 6 in) - I purchased mine in Hobbycraft, however they do not stock it anymore. If you like you can purchase it through my blog
  • White card paper (15 x 30cm)
  •  Pastel blue card paper (15 x 15cm)
  •  Red card paper (approximately 10 x 10 cm)
  •  White card paper (aproximately 10 x 10 cm)
  • Outline stickers " Happy Birthday" from Anita's Glitterations outline stickers in white
  • Double sided tape 
  • Craft foam pads (I used Stix 2mm thick - it makes the 3D effect more noticeable - but you can use thinner craft foam pads if you prefer)
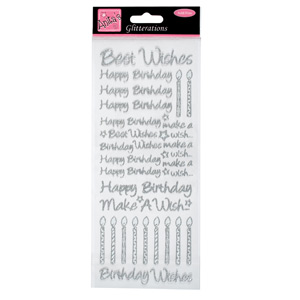
Anita's Glitterations Birthday Wishes in White


Find the picture of a bear with pink balloon as shown bellow. You will need 3 of those. 


Cut out parts of the 4 pictures as shown in the picture bellow.


From the 1st picture cut out the whole outline of the bear and the balloon. From the 2nd picture card cut out bear's head (without ears), right hand and left paw, belly and both feet as shown in the picture above. From the 3rd picture cut out bear's right hand with the nose and the letter, left paw as shown on the picture above. From the 4th picture cut out bear's right hand.

Take the pink balloon and use it to draw its outline on the red card. Then cut out the red balloon. I used a bit of a white chalk to make the reflection on the red balloon but it is not necessary. Draw 3 clouds (different sizes) on a white card paper and cut them out as well.

Take white card 15cm x 30cm and fold it in half. Take a pastel blue card paper (size 15cm x 15cm) and using double sided tape attach it to the white card. 

Now it's time to use the cut out parts of the bear and balloon. Take the cut outs (bear and the red balloon) from the 1st picture card and attach it to the pastel blue card using double sided tape. Take the cut outs from the 2nd picture card and attach it to the pastel blue card over the original picture using foam pads. Take the cut outs from the 3rd picture and again attach them over the picture on the card using foam pads, creating layers.Then take the cut out from the 4th picture and attach it to the card as well using foam pad.

Draw a line between the balloon and the bear's hand using a black pencil.Then attach a message outline sticker and the white clouds to the card.


Friday, 5 October 2012

Cute Handmade 3D Decoupage Cards - 26 - Flying Bear


 To make this card you will need:

  • Forever Friends "Party Time" paper pack (6 x 6 in) - I purchased mine in Hobbycraft, however they do not stock it anymore. If you like you can purchase it through my blog
  • White card paper (15 x 30cm)
  •  Navy blue card paper (15 x 15cm)
  •  Red card paper (about 10 x 10 cm)
  • Outline stickers " Happy Birthday" and stars from Anita's Glitterations outline stickers in silver
  • Double sided tape 
  • Craft foam pads (I used Stix 2mm thick - it makes the 3D effect more noticeable - but you can use thinner craft foam pads if you prefer)
Anita's Glitterations Birthday Wishes Outline stickers in silver


Find the picture of a bear with pink balloon as shown bellow. You will need 3 of those. 


Cut out parts of the 3 pictures as shown in the picture bellow.


From the 1st picture cut out the whole outline of the bear and the balloon. From the 2nd picture card cut out bear's head with ears, right hand and left paw, belly and both feet as shown in the picture above. From the 3rd picture cut out bear's right hand and left paw as shown on the picture above. 

Take the pink balloon and use it to draw its outline (2x) on the red card. Then cut out the 2 red balloons. I used a bit of a white chalk to make the reflection on the red balloon but it is not necessary.

Take white card 15cm x 30cm and fold it in half. Take a navy blue card paper (size 15cm x 15cm) and using double sided tape attach it to the white card. 

Now it's time to use the cut out parts of the bear and balloon. Take the cut outs (bear and the red balloon) from the 1st picture card and attach it to the navy blue card using double sided tape. Take the cut outs from the 2nd picture card as well as the 2nd red balloon and attach it to the navy blue card over the original picture using foam pads. Take the cut outs from the 3rd picture and again attach them over the picture on the card using foam pads, creating layers.

Draw a line between the balloon and the bear's hand using a black pencil.Then attach a message outline sticker and the stars to the card.


Thursday, 4 October 2012

Cute Handmade 3D Decoupage Cards - 25 - Flying Bear

 Happy Birthday !!!


 To make this card you will need:

  • Forever Friends "Party Time" paper pack (6 x 6 in) - I purchased mine in Hobbycraft, however they do not stock it anymore. If you like you can purchase it through my blog
  • White card paper (15 x 30cm)
  • Outline stickers " Happy Birthday" and stars from Anita's Glitterations outline stickers in silver and white
  • Double sided tape 
  • Craft foam pads (I used Stix 2mm thick - it makes the 3D effect more noticeable - but you can use thinner craft foam pads if you prefer)
Anita's Glitterations Birthday Wishes Outline stickers in silver
Anita's Glitterations Birthday Wishes Outline stickers in white


Find the picture of a bear with pink balloon as shown bellow. You will need 3 of those. 


Cut out parts of the 2 pictures (keep the 3rd one on side for now) as shown in the picture bellow.


From the 1st picture cut out the outline of the bear's head with ears, right hand and left paw, belly and both feet and the pink balloon as shown in the picture above. From the second picture cut out bear's right hand and left paw and the pink balloon as shown on the picture above. 

Take white card 15cm x 30cm and fold it in half. Take the pink card with the picture of the bear and the balloon and using double sided tape attach it to the white card. 

Now it's time to use the cut out parts of the bear and balloon. Take the cut outs from the 1st picture card and attach it to the pink card over the original picture using foam pads. Take the cut outs from the 2nd picture and again attach them over the picture on the card using foam pads, creating layers.

Then attach a message outline sticker and the stars to the card.