Saturday, 16 March 2013

Easter Project - Handmade Easter Basket

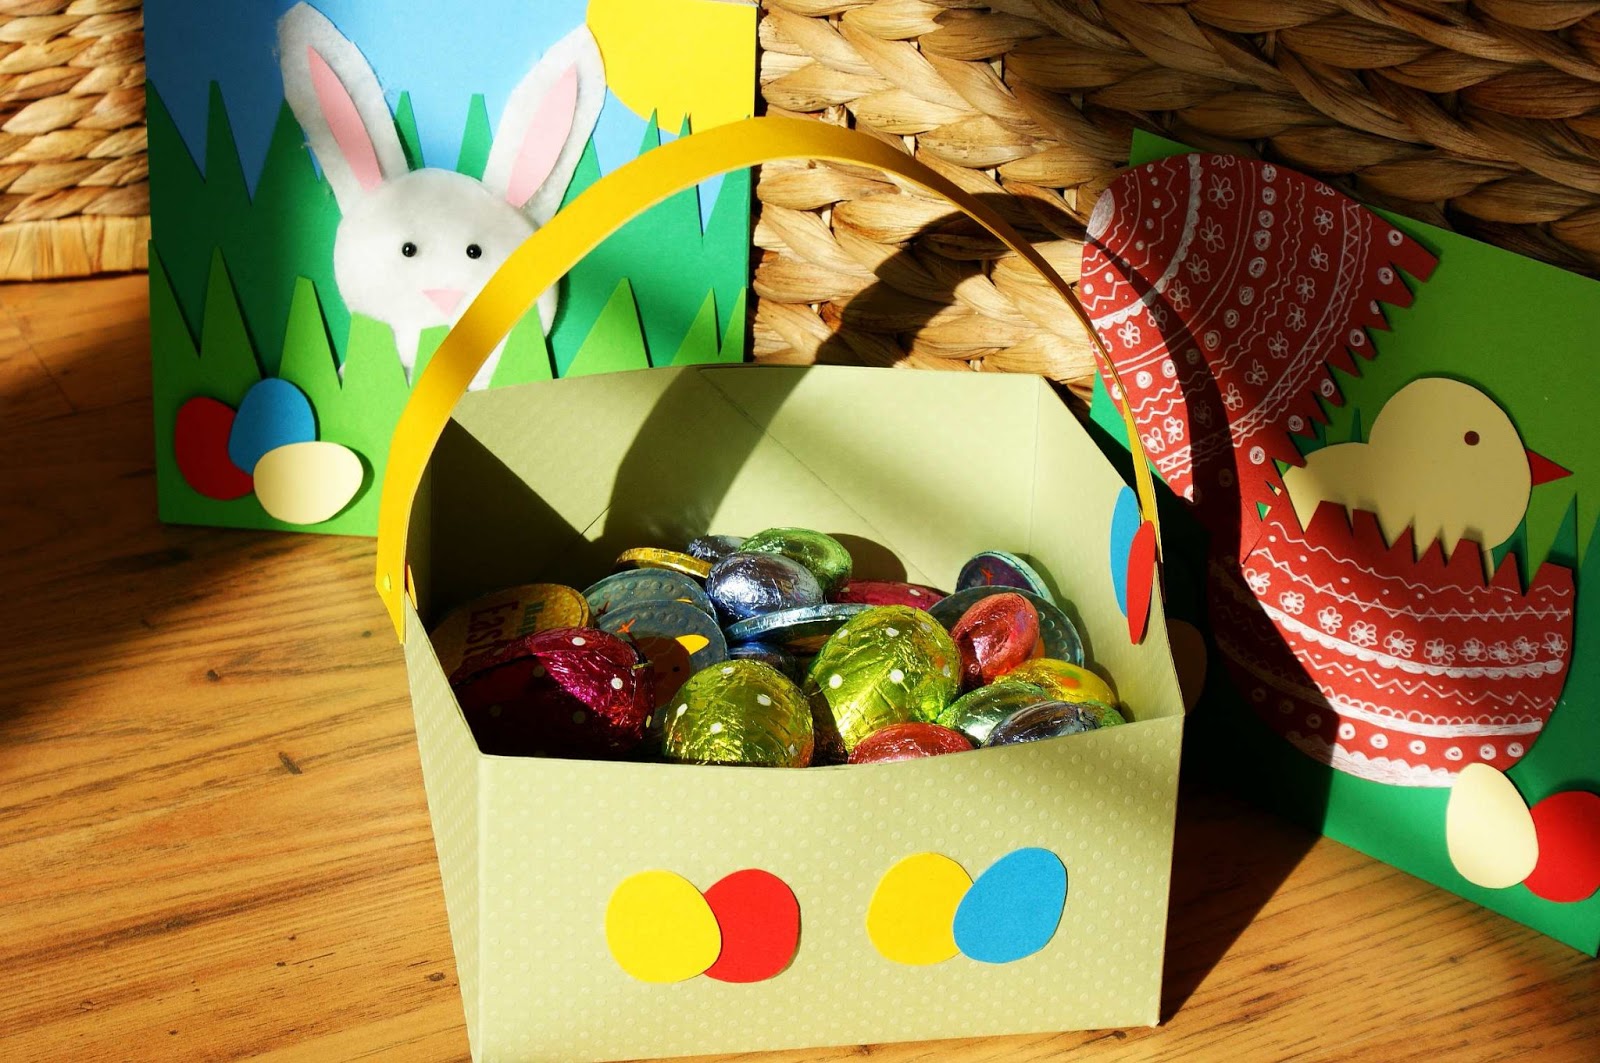
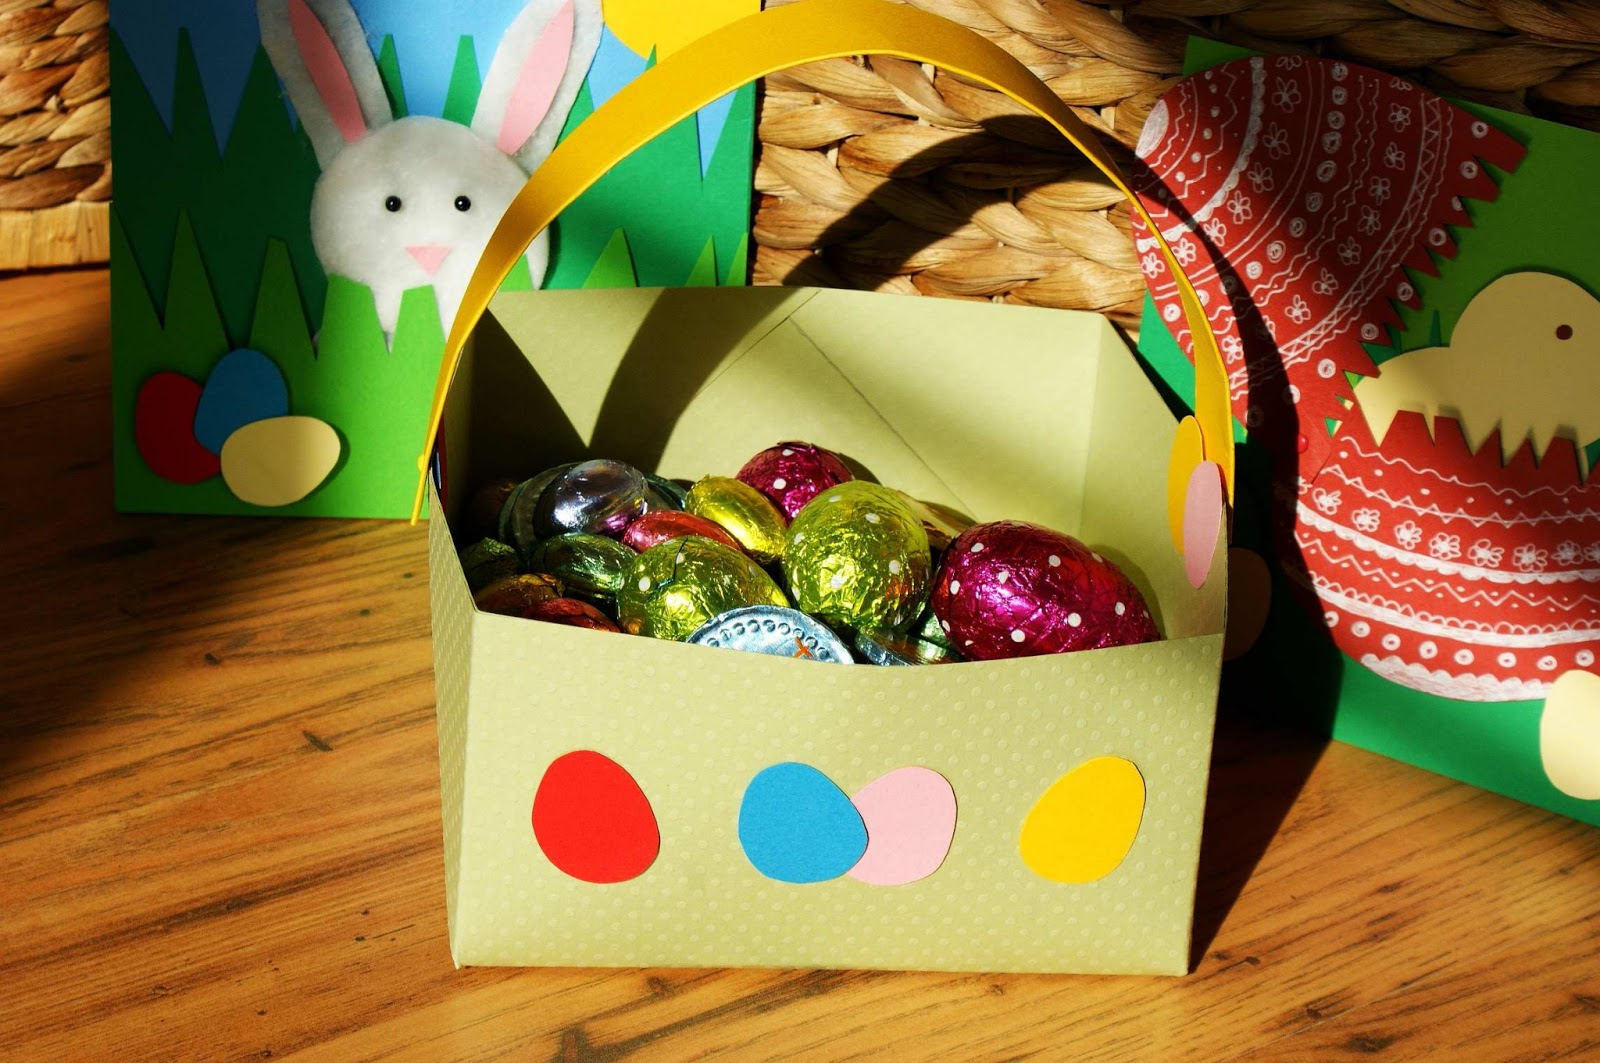
Last year I sewed an Easter bag for collecting all those hidden and found Easter sweets. This year I decided to make a paper basket. It's very easy and quick to make. Instructions are further bellow.


I have set up and online shop - CRAFT MAGIC ONLINE SHOP- on my blog (top right corner). You can now purchase many crafting supplies right here. The shop is powered by Amazon, so you would be making the purchase through Amazon. I have just selected (and sorted into various categories) crafting products that Amazon sells. My blog's shop is divided into 3 parts; paper and scrapbooking supplies,  crafty kids (offering variety of beautiful crafty kits and products designed for children) and sewing and patchwork supplies.


SUGGESTED CRAFT SUPPLIES SUITABLE FOR THIS PROJECT:


You can purchase following items in my online shop. Click on the image for more detail. The link will get you directly into my shop. Please note, that the stock has been available at the time of this posting and might be sold out in the future date.

brads pastel 1/8 round (3mm) 100 piecesBigger Brads - Assorted Shapes, pk of 90 - Baby Retro


Indie Chic Citron Decorative Brads 36/Pkg-Grow
Eyelet Outlet Brads-Lollipop 12/Pkg


Wild Saffron Double-Sided Designer Paper Pad 12"X12" 36/Shts-3 Each Of 12 DesignsWatercolor Bouquet Designer Paper Pad 12"X12"-36 Sheets

Designer Double-Sided Paper Pad 12"X12"-Snuggle Bug, 36 Sheets, 12 Designs/3ea Designer Double-Sided Paper Pad 12"X12"-Summer Travel, 36 Sheets, 12 Designs/3ea
To make this basket you will need:

  • Card paper - colour and pattern of your choice - I used pastel green (30.5 x 30.5cm)
  • Card paper - colour of your choice - I used yellow (30 x 4 cm)
  • Scraps of various colours of card paper to make small Easter eggs decorations
  • 2 brads
  • Double sided tape

Instructions:


Measure 8 cm from the edges of the 30.5 x 30.5 cm card paper and draw 4 lines.


You will have a 14.5 x 14.5 cm square in the middle of the card paper - this is the base of the basket. Join corners of the card paper with the corners of the drawn square - you will have 4 diagonal lines.


Cut the diagonal lines and fold up the corners with overlapping diagonal flaps.


Cut strip of card paper 30 x 4 cm and bend it in the middle. Using double sided tape secure the card together along the bend thus making the handle stronger. Resulting size is 30 x 2 cm handle.


Using 2 brads, secure the handle to the basket on each side thus also securing the overlapping flaps of the basket.


Cut small eggs out from card paper (various colours) and attach them to the basket using double sided tape.

Tuesday, 12 March 2013

Easter Project - Variation on Easter Rabbit Picture / Card

Few days ago I posted Eater Project - Easter Rabbit. See my previous blog posting for the full instructions on how to make it. If you like, you can make it even more colourful by adding some embellishments. I added flowers and butterflies. 


I have set up and online shop - CRAFT MAGIC ONLINE SHOP- on my blog (top right corner). You can now purchase many crafting supplies right here. The shop is powered by Amazon, so you would be making the purchase through Amazon. I have just selected (and sorted into various categories) crafting products that Amazon sells. My blog's shop is divided into 3 parts; paper and scrapbooking supplies,  crafty kids (offering variety of beautiful crafty kits and products designed for children) and sewing and patchwork supplies.

SUGGESTED CRAFT SUPPLIES SUITABLE FOR THIS PROJECT:

You can purchase following items in my online shop. Click on the image for more detail. The link will get you directly into my shop. Please note, that the stock has been available at the time of this posting and might be sold out in the future date.

Dress It Up Buttons - Counting Sheep, pk of approx 9, 15 to 25mm
Dress It Up Buttons - Carrot Crop, pk of approx 13, 18mm


Self-Adhesive Satin Gem Flowers (Pack of 60)

Dress It Up Buttons - Easter, Painted Eggs, pk of 10, 2cm
Poppy Seed Clearly Stickers 4.5"X6" Sheet-Icons

Craft for Occasions, Small Ladybird card embellishments 24 Pcs, C0808
Nature Clearly Stickers 4.5"X6" Sheet-Icon


Blossom Pillow Stickers-

Textured Brights Cardstock Stack 8"X8"-2 Each Of 29 Colors (58 Sheets/Pad)
Round Pearl Beads - 3mm - Black


PAPER CUTTING TOOLS::


Fiskars Bypass Guillotine 22 cm
Guillotine Paper Trimmer 12"X12"-


Purple Cows - 2 in 1 Combo Paper Trimmer Guillotine


Mini Guillotine Paper Trimmer 6"-


Sunday, 10 March 2013

Easter Project - Handmade Easter Rabbit Picture / Card

This Easter project was originally designed as a greeting card, however it can be used as an Easter decoration as well. It can be framed or you can just put a string through and hang it somewhere on display making it part of your Easter decorations. It is colourful and cute design and it's not difficult to make so it is also suitable as an Easter project for kids.


I have set up and online shop - CRAFT MAGIC ONLINE SHOP- on my blog (top right corner). You can now purchase many crafting supplies right here. The shop is powered by Amazon, so you would be making the purchase through Amazon. I have just selected (and sorted into various categories) crafting products that Amazon sells. My blog's shop is divided into 3 parts; paper and scrapbooking supplies,  crafty kids (offering variety of beautiful crafty kits and products designed for children) and sewing and patchwork supplies.


SUGGESTED CRAFT SUPPLIES SUITABLE FOR THIS PROJECT:

You can purchase following items in my online shop. Click on the image for more detail. The link will get you directly into my shop. Please note, that the stock has been available at the time of this posting and might be sold out in the future date.


Textured Brights Cardstock Stack 8"X8"-2 Each Of 29 Colors (58 Sheets/Pad)
Round Pearl Beads - 3mm - Black


PAPER CUTTING TOOLS::


Fiskars Bypass Guillotine 22 cm Guillotine Paper Trimmer 12"X12"-


Purple Cows - 2 in 1 Combo Paper Trimmer Guillotine Mini Guillotine Paper Trimmer 6"-


To make this card you will need:

  • White card paper (15 x 30cm)
  • Blue card paper (15 x 15cm)
  • Dark green card paper (15 x 11 cm)
  • Light green card paper (15 x 7 cm)
  • Piece of yellow card paper - sun
  • piece of pink card paper - nose and ears
  • various other colours card paper- eggs
  • Black beads - eyes
  • small round cosmetic cotton wool face pads
  • Double sided tap
  • Craft foam pads (I used Stix 2mm thick) 

Instructions:
Take white card 15cm x 30cm and fold it in half. Take blue card paper (size 15cm x 15cm) and attach it to the white card using double sided tape. Take the yellow card and at its corner draw quarter circle. Cut it out and attach it to the top right corner of the blue card using double sided tape. Then take the dark green paper and cut out uneven triangles along the top line, then attach it to the blue card using double sided tape. Take a round cosmetic cotton pad and separate it into 2 pieces - this is to be used to make the rabbit (the fluffier inside part is to be on outside). Attach 1 piece of the round cotton pad at the bottom of the dark green paper and the other piece above this one (slightly overlapping) using double sided tape. Then take another cotton pad and again separate it into 2 pieces. Take 1 piece of the cotton pad and cut out 2 ears. Attach it to the card. Take pink card paper and cut out 2 smaller ears and a little triangle (nose) and attach it to the rabbit using double sided tape. Attach 2 black beads (eyes) to the rabbit using small piece of double sided tape. Then take the light green card paper and cut out uneven triangles along the top line, then attach it to the dark green card (over the rabbit) using foam pads. Then cut out small eggs from cards of various colours and attach them to the light green card using foam pads.

notes: If you do not have black beads, just cut 2 small round shapes (eyes) from black or brown card paper instead. 
If you do not want to make this as a greeting card but only as a decoration, just don't use the white card 15 x 30 cm.